With this tutorial, I will show you how the Hybris Architect Impex Manager easily manages SAP CX Commerce product classifications without any knowledge of the Impex syntax.
First, what are classifications in SAP CX Commerce? In very simple terms, classifications are product or category features. An example of product features are shutter speed and number of megapixels when describing a digital camera. Clear and detailed product information allow online buyers to make informed purchasing decisions. Since each product can have dozens of product features, it is important that eCommerce merchandising teams have may quickly add/update/delete product classifications.
Newer versions of SAP CX Commerce are equipped with a bulk-edit classification solution that allow merchandisers to export and re-import product classifications via Excel. We have been impressed with this Backoffice improvement. In this tutorial, we will demonstrate how the Hybris Architect Impex Manager uses a online grid to manage classifications without the need to export classifications to Excel. We feel the Hybris Architect Impex Manager solution provides quicker to market product data modifications in comparison to the Backoffice approach.
Let's get started.
1. Login into Hybris Architect
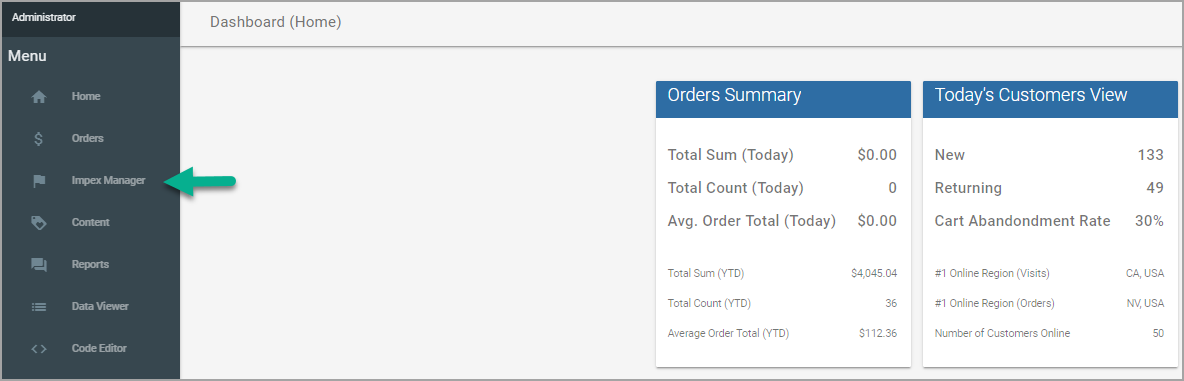
2. Click on the Impex Manager link from the left navigation.
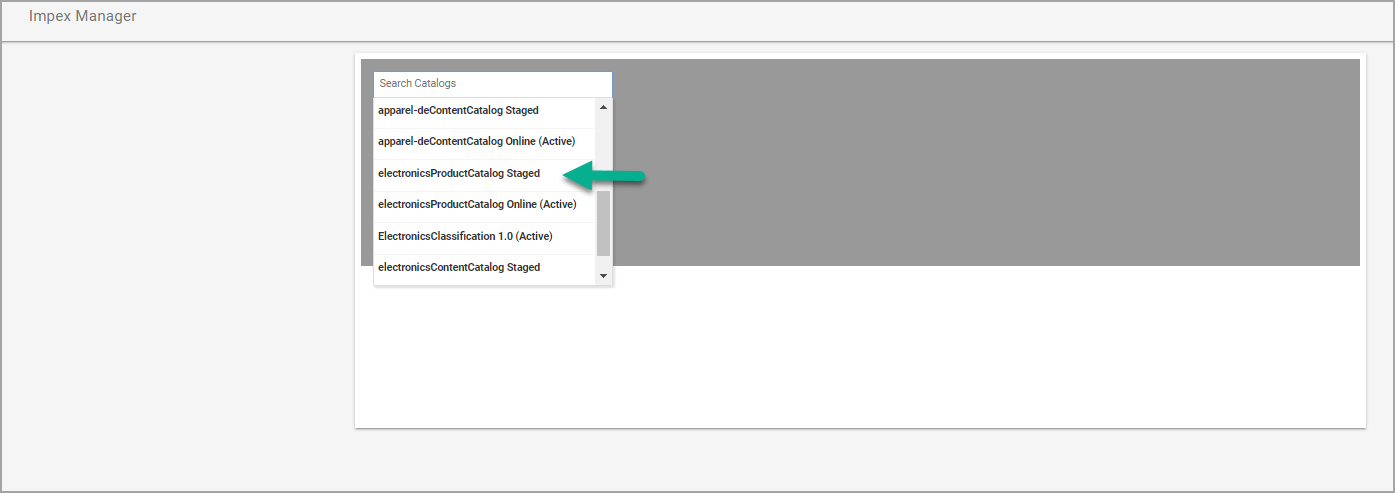
3. On the Impex Manager page, go to the Select a Catalog/Version dropdown, and choose your active Catalog and Version from the available list of Catalog and Version combinations. For this tutorial, we will select the Electronics Product Catalog Staged catalog.
4. After selecting the Electronics Product Catalog Staged catalog from Select a Catalog/Version dropdown, additional dropdowns are displayed on the Impex Manager page.
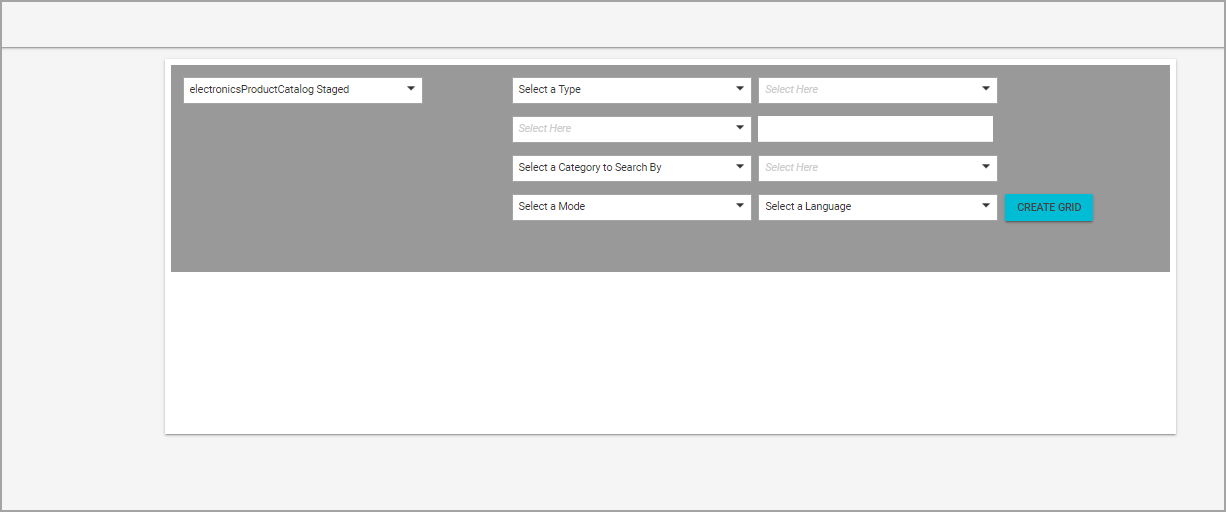
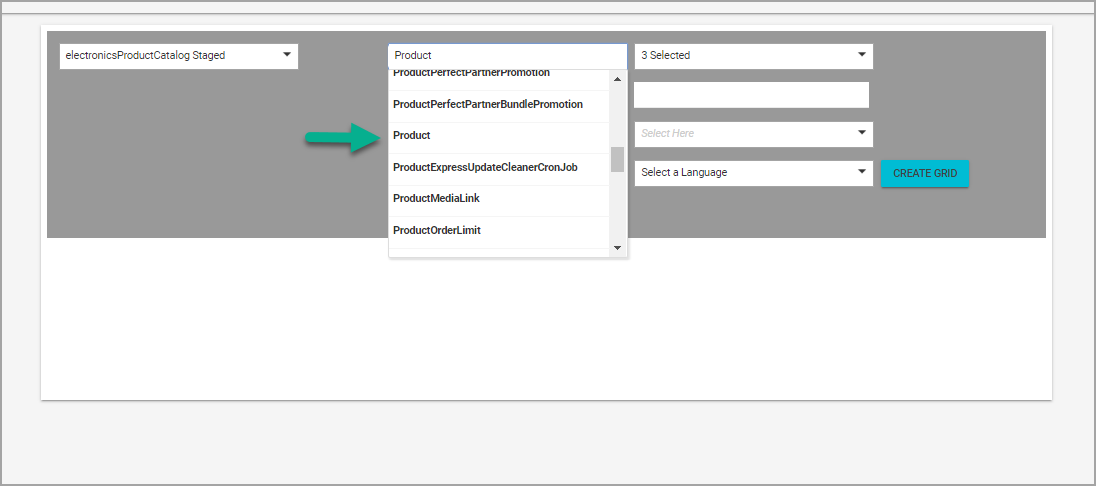
5. Go to the Select a Type dropdown, search for the Product type for the selected catalog version.
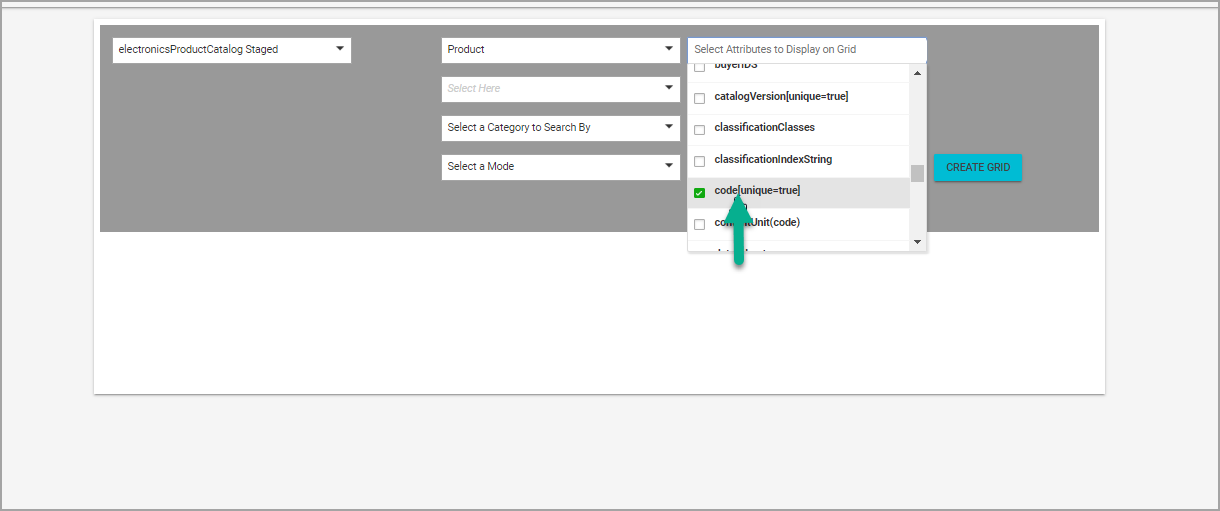
6. Select the code[unique=true] attribute from the Attributes dropdown. The code[unique=true] is required since it is the primary identifier for the Product type.
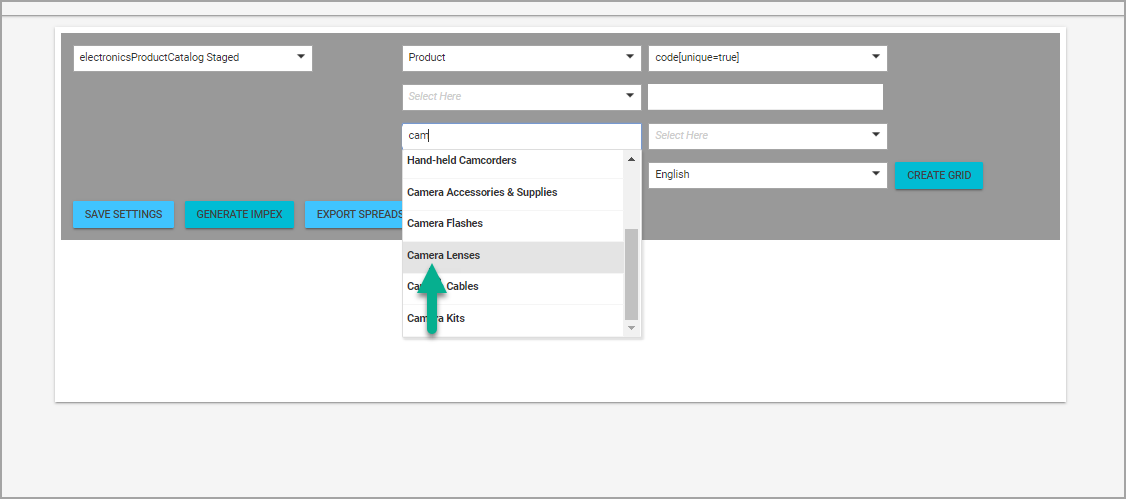
7. For this tutorial, we will update the product classification attributes for products associated with the Camera Lenses category. To fetch all products from the Camera Lenses category, select Camera Lenses from the Select a Category dropdown.
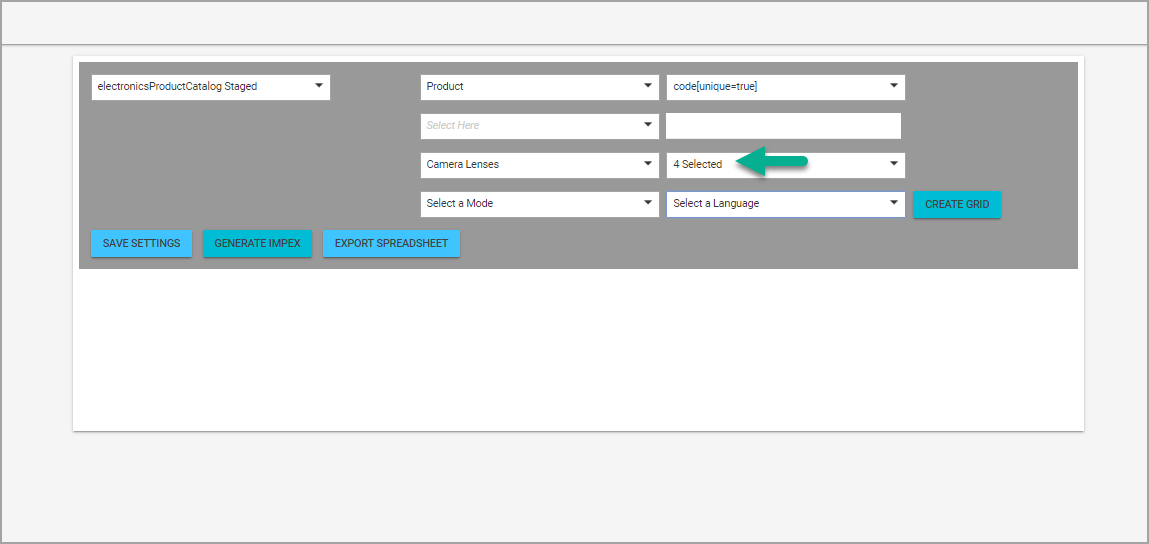
8. Next, we will select classification attributes from the Classification Attributes dropdown, we wish to update. For this example, we will choose Diameter, Filter size, Length and Weight.
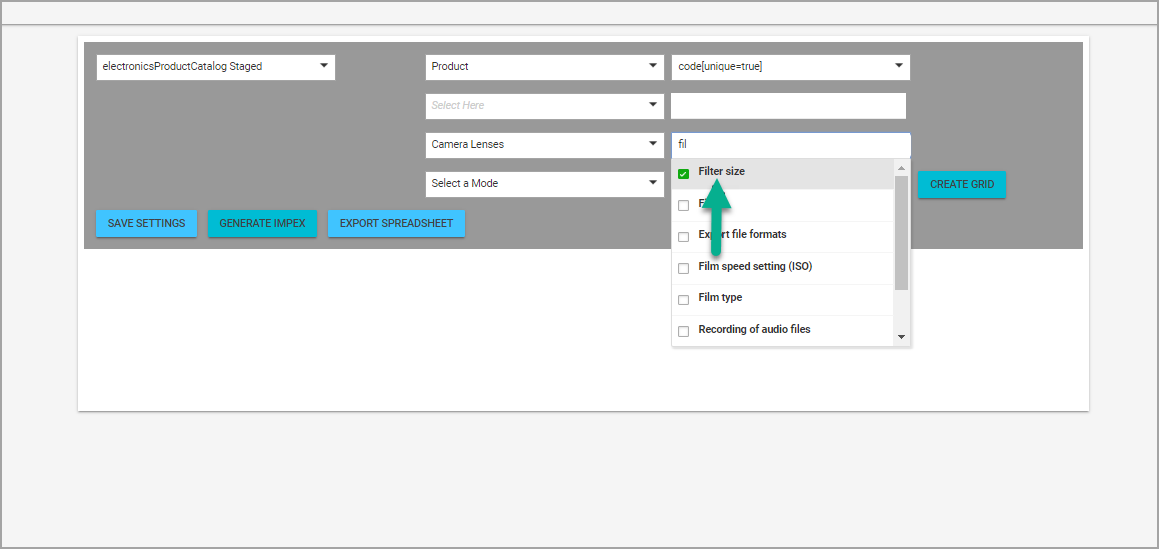
When all four classification attributes have been successfully selected, the classification attributes dropdown will appear with "4 Selected" in the dropdown header.
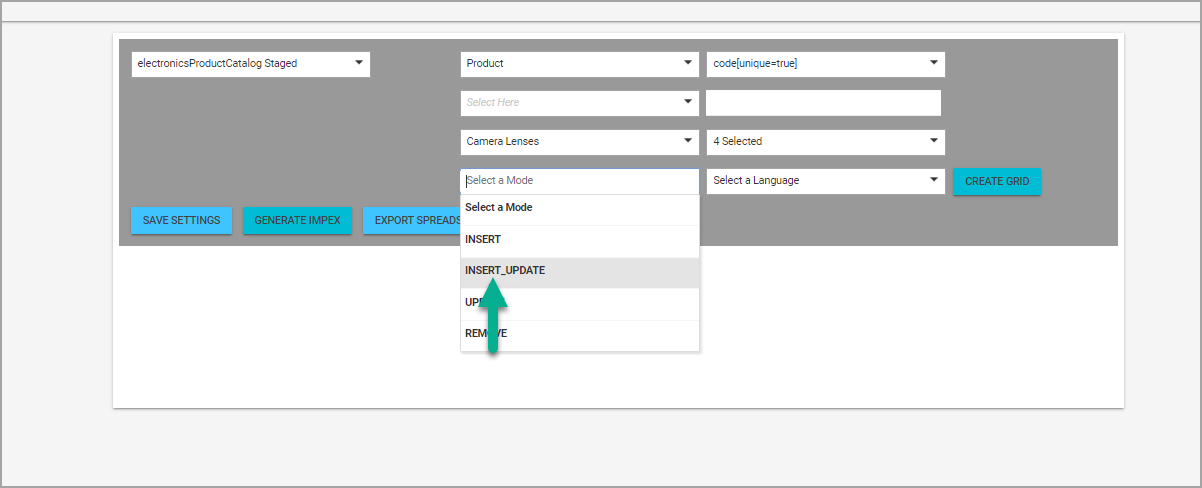
9. Next, select INSERT_UPDATE from the Select a Mode dropdown to insert classification attributes that do not exist, or update the existing classification attributes if they do exist.
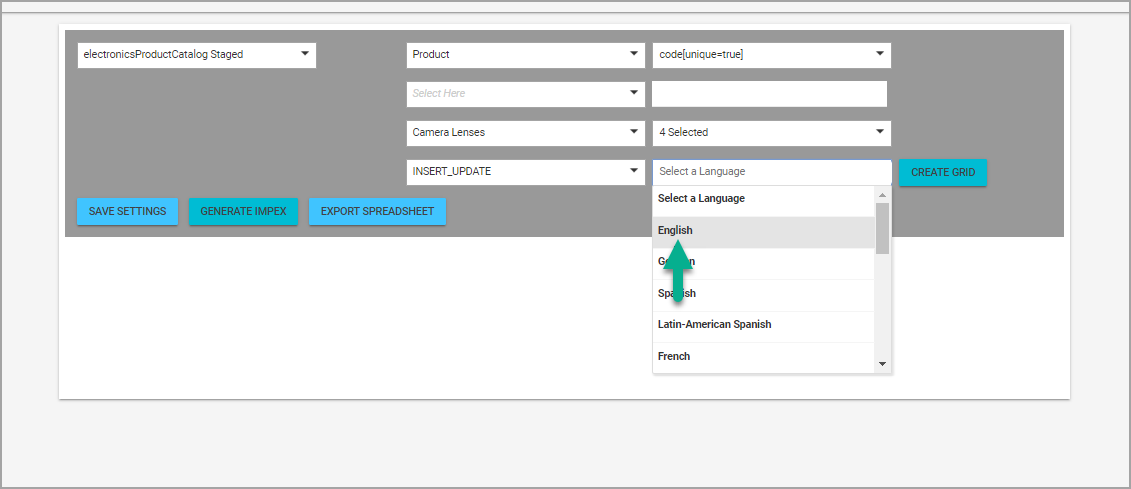
10. Select the target language from the Select a Language dropdown, for this tutorial, we will select English.
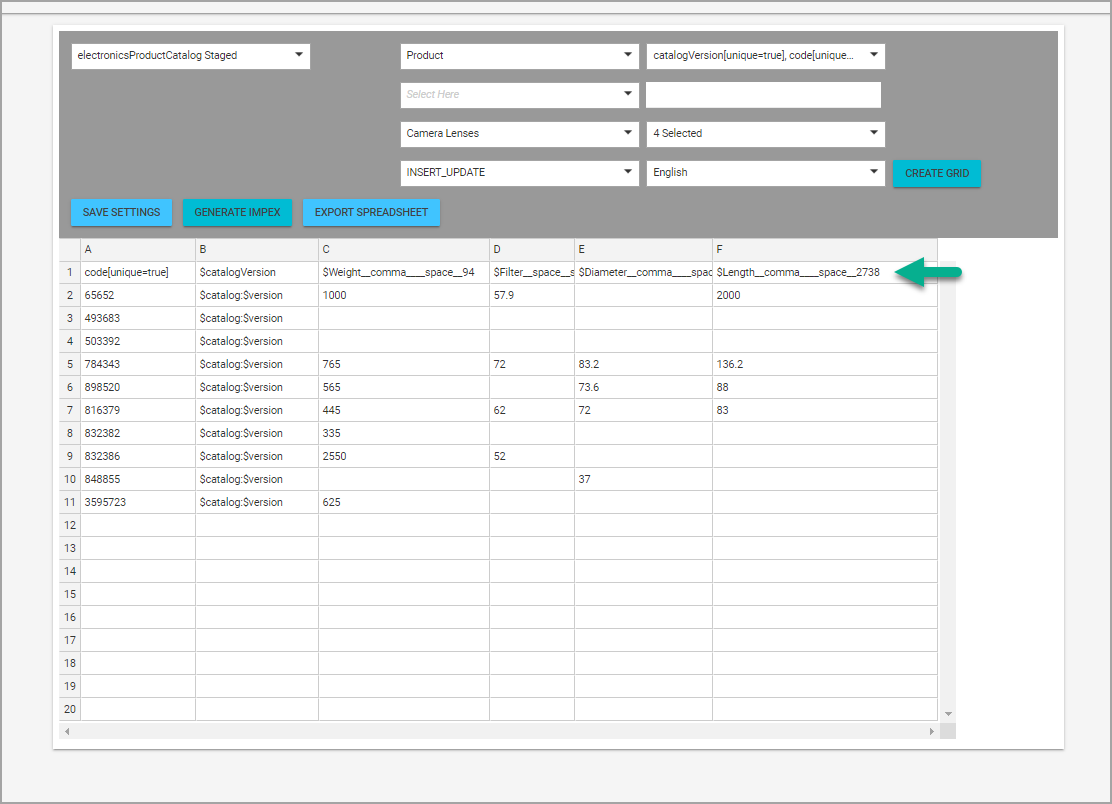
10. Click on the Create Grid button. The Create Grid button displays all products from the Camera Lenses category and the the classification attributes, as well as, the associated values in the online grid.

A column with the $catalogVersion macro variable is automatically inserted into the grid. The $catalogVersion macro variable will contain the selected Catalog and Version information we previously selected in step #3.
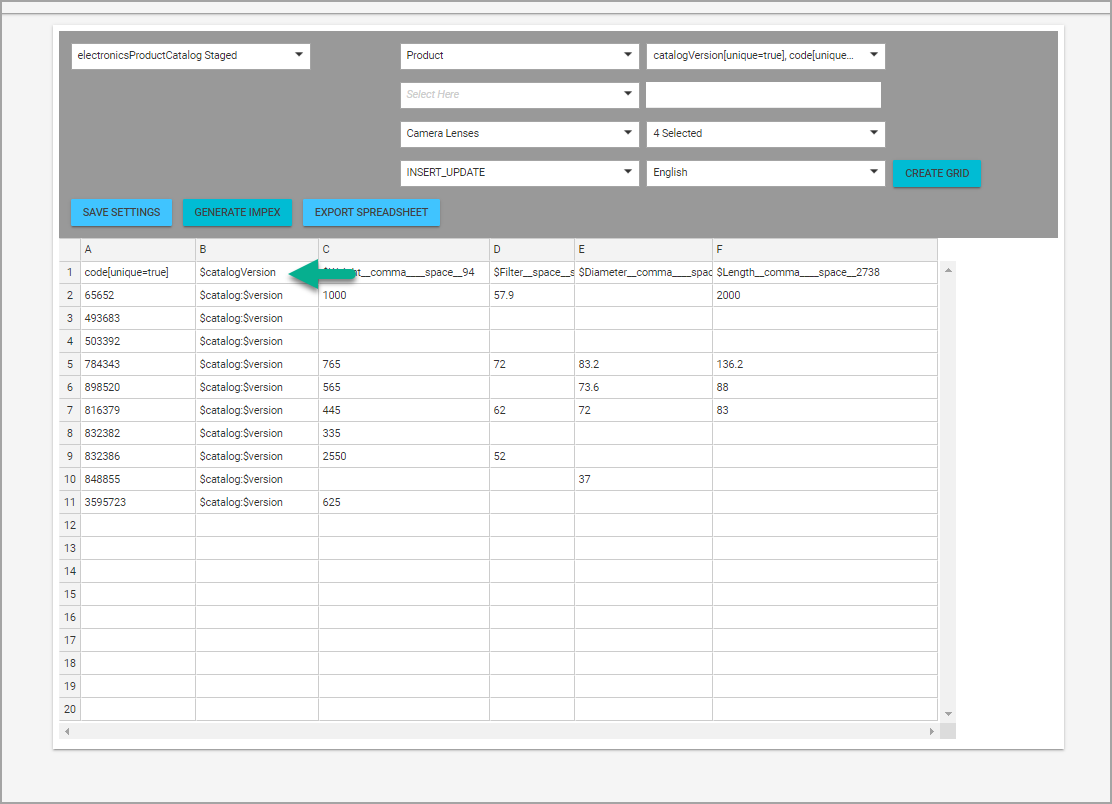
The classification attributes are inserted into the grid header with intuitive macro headers names that will be referenced when we click on the Generate Impex button.
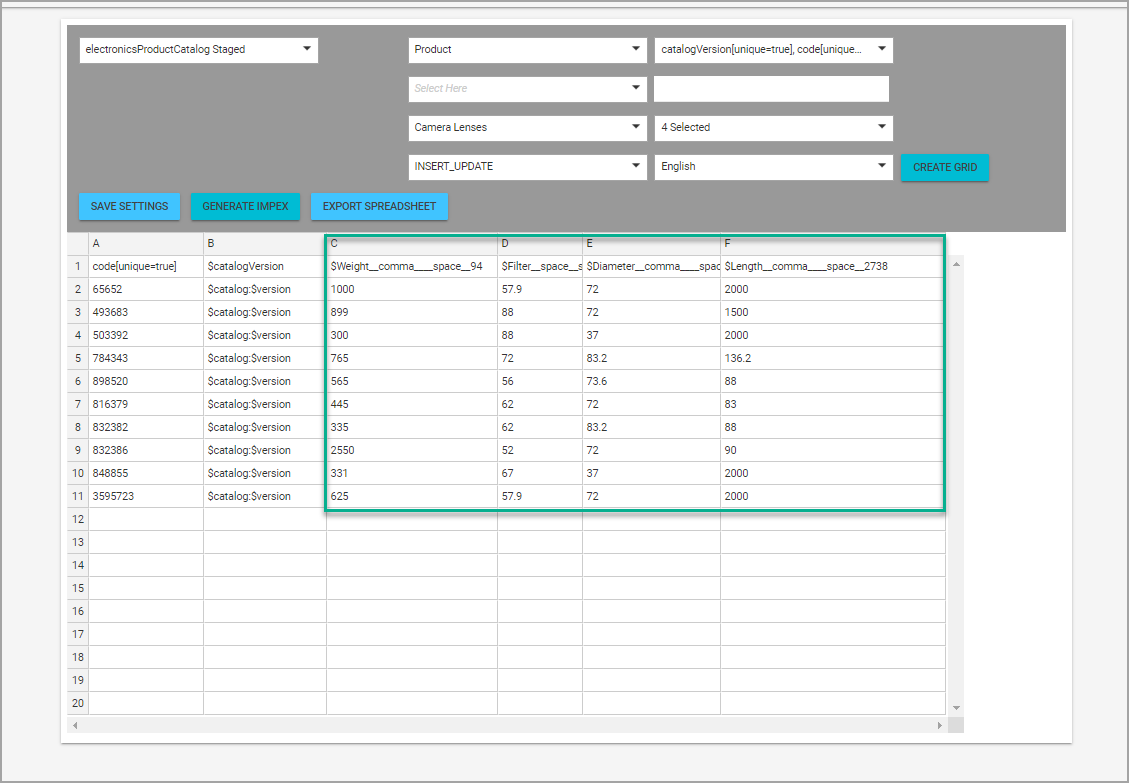
11. Next, we will enter the appropriate values for the product classifications.
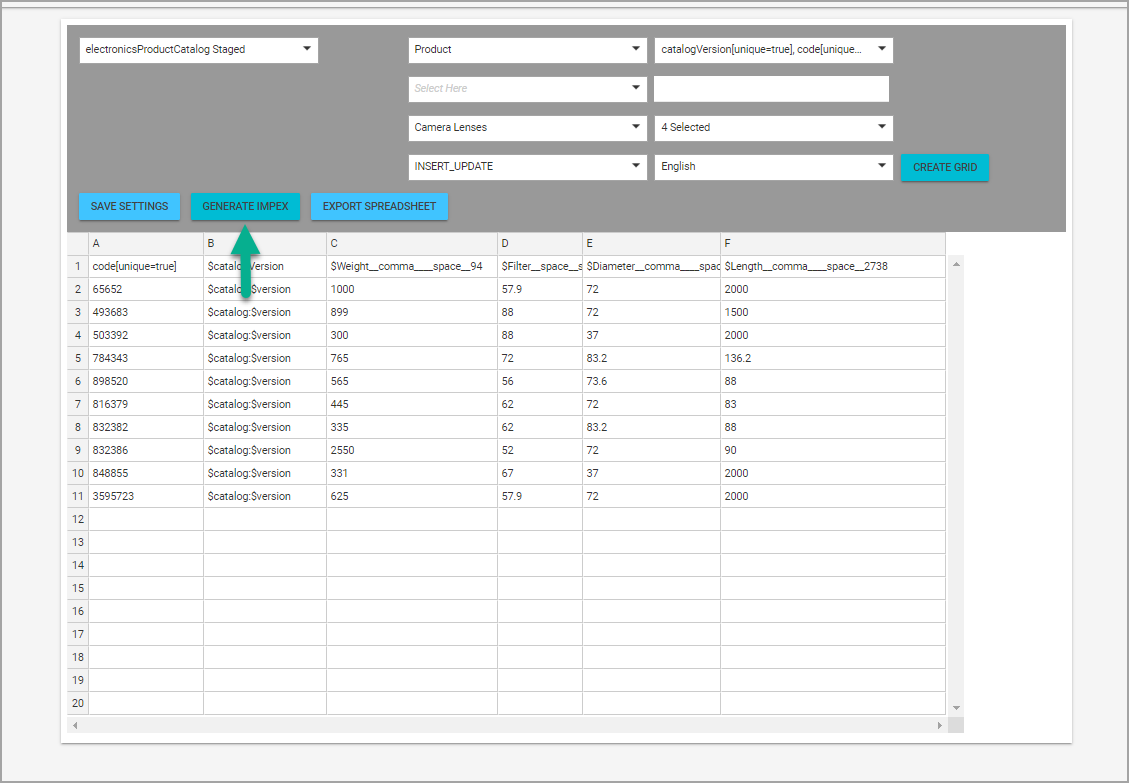
12. Click on the Generate Impex button.
The Impex Viewer displays the required Impex macro headers and data to successfully insert or update the product classifications for the camera lenses category. The business user does not need to modify the script, but may review for confirmation purposes.
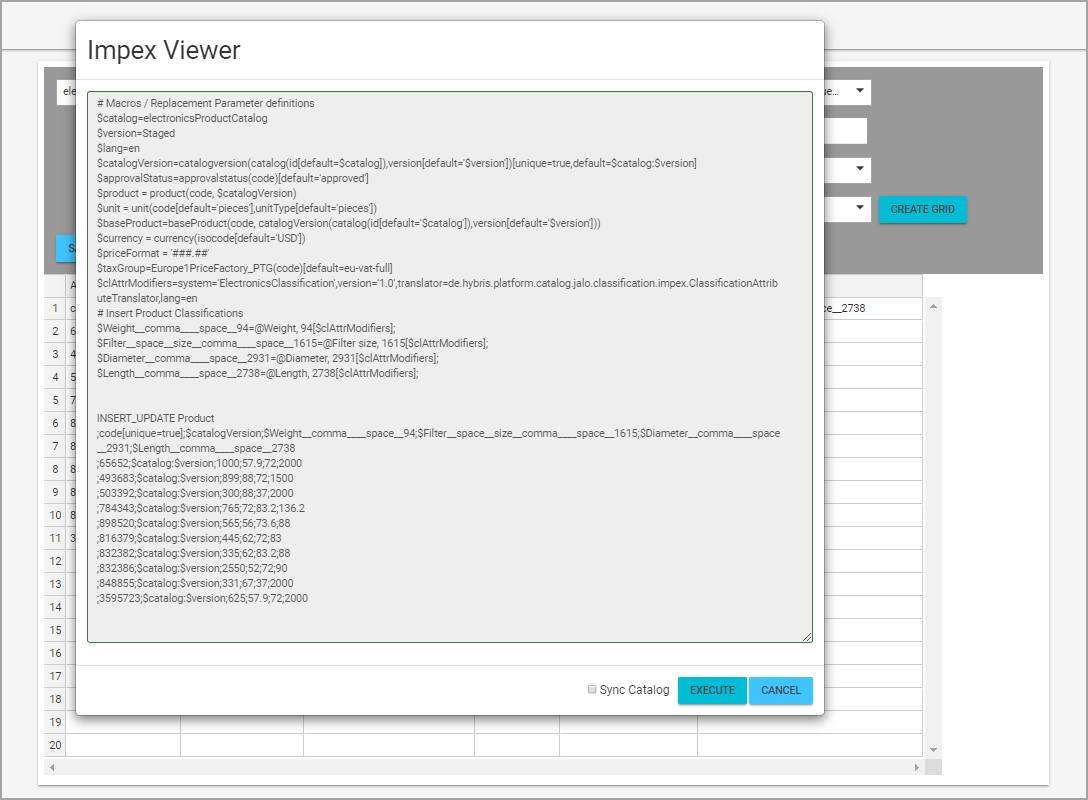
10 Click on the Execute button to import the Impex Script. The business user may also decide to synchronize the the changes to the Electronics Online Catalog by clicking on the Sync Catalog button.
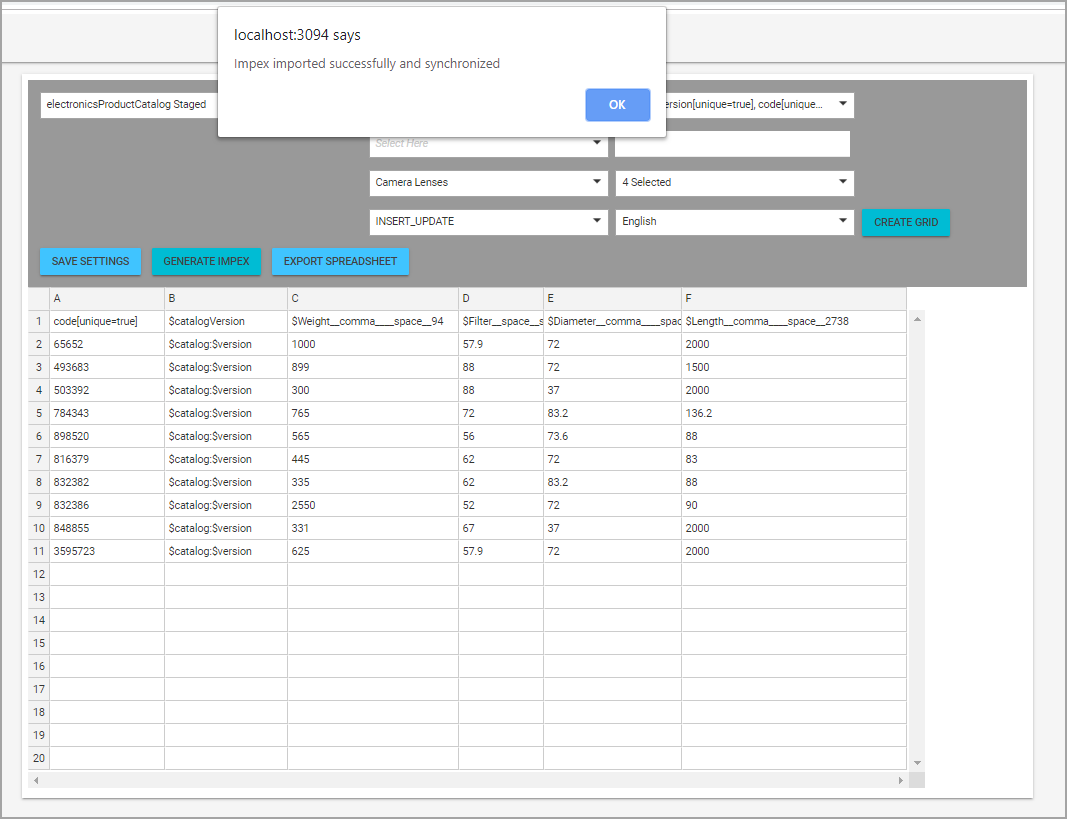
11. A dialog box notifies the business user when the Impex has been successfully imported and synchronized, if the Sync Catalog checkbox was checked in Step #10.
12. Congratulations, you now understand how to use the Hybris Architect Impex Manager to manage product classifications.
If you have any questions, please email us at info@hybrisarchitect.com
Thank you for your time!